- By Sandie Orlando, Assistant Coach, CL Performance Training
- Photo credits: Steve Pennell, Instagram @fotostevezoom
New bike day is super exciting, but don’t let the excitement of getting on your new ride stop you from getting it set up properly. By properly – we mean a bike fit session. Most reputable dealers will include a bike fit with the purchase. However, when it’s a ‘new to me’ bike – purchased from a marketplace or bike swap, getting in for a proper bike fit is easily overlooked. The “let’s just see how it feels” approach is tempting, but can set you up for discomfort and unnecessary saddle changes that might be avoided.
There are many capable bike fitters out there, including our own Coach Al, who helps athletes local to the Burlington, ON area with a fit session that can help guide the decision for a new bike build or purchase. Read more about that process here.
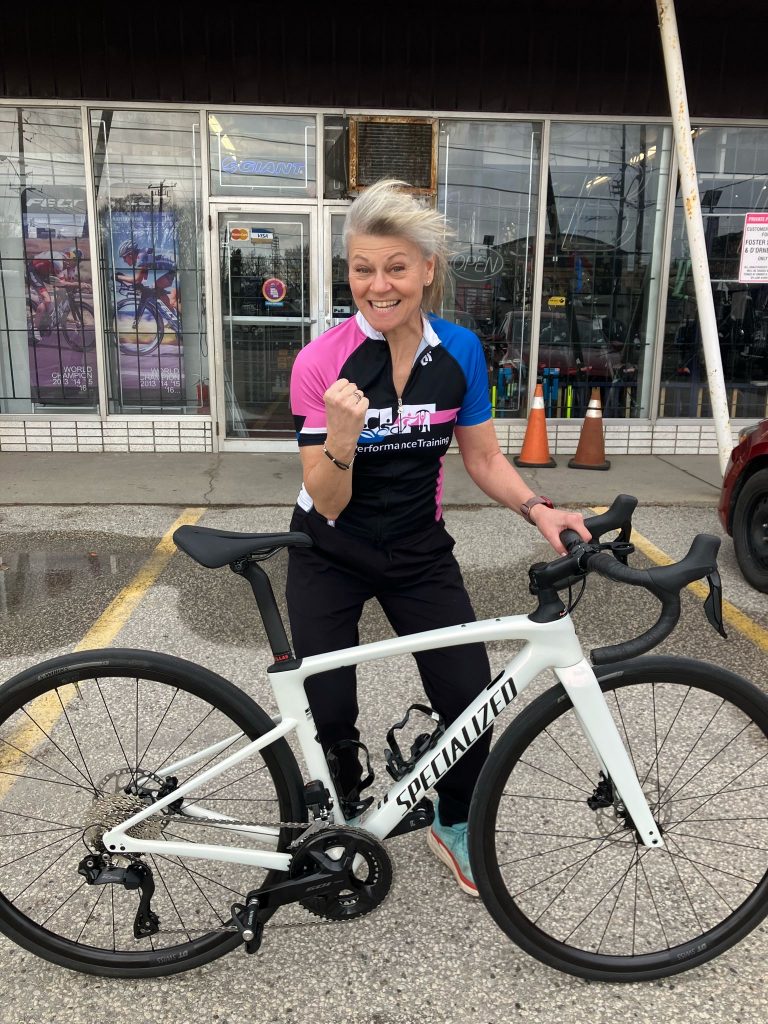
Coach Sandie documented her new bike fit with D’Ornellas to share the process and explain why the initial fit and set up is so important. (And to show off her new ride…!!)

The old bike (Specialized Ruby Comp) has a lot of kms on it and is still a great bike, but my arthritic thumbs can’t handle the clincher brakes and manual shifters so easily now. It’s finally time for an upgrade – to a Specialized Roubaix with electronic shifters and disc brakes!
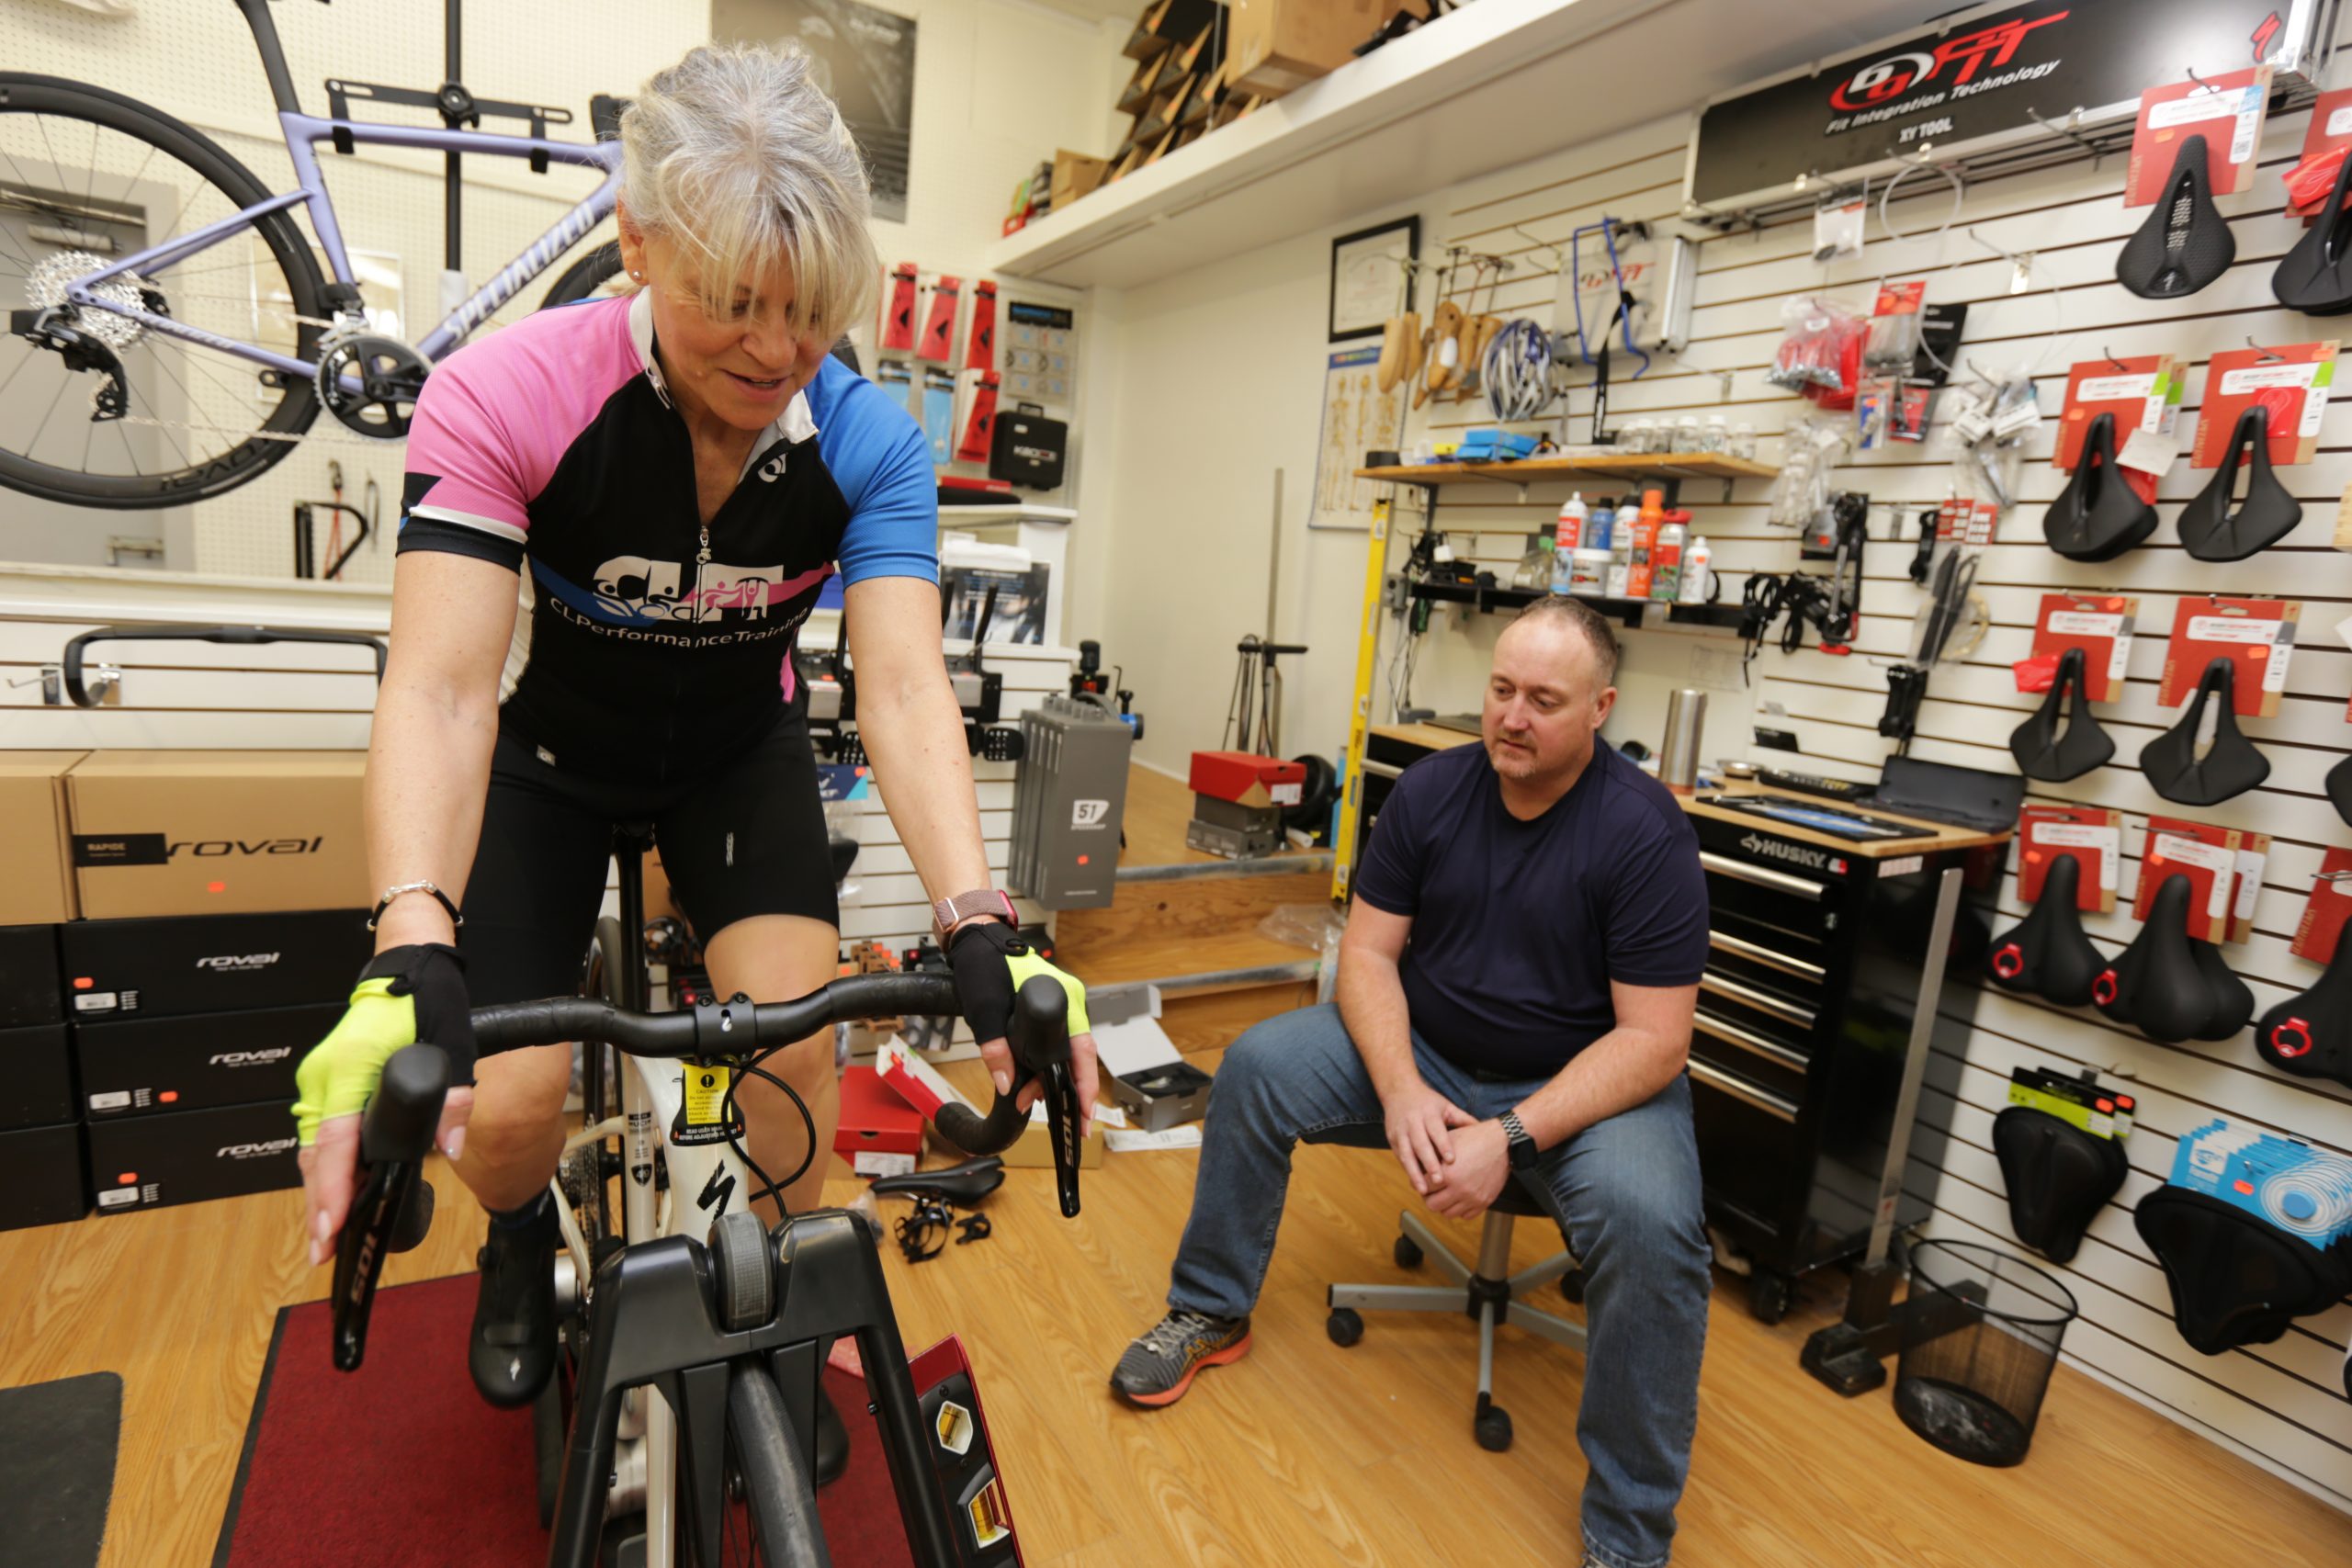
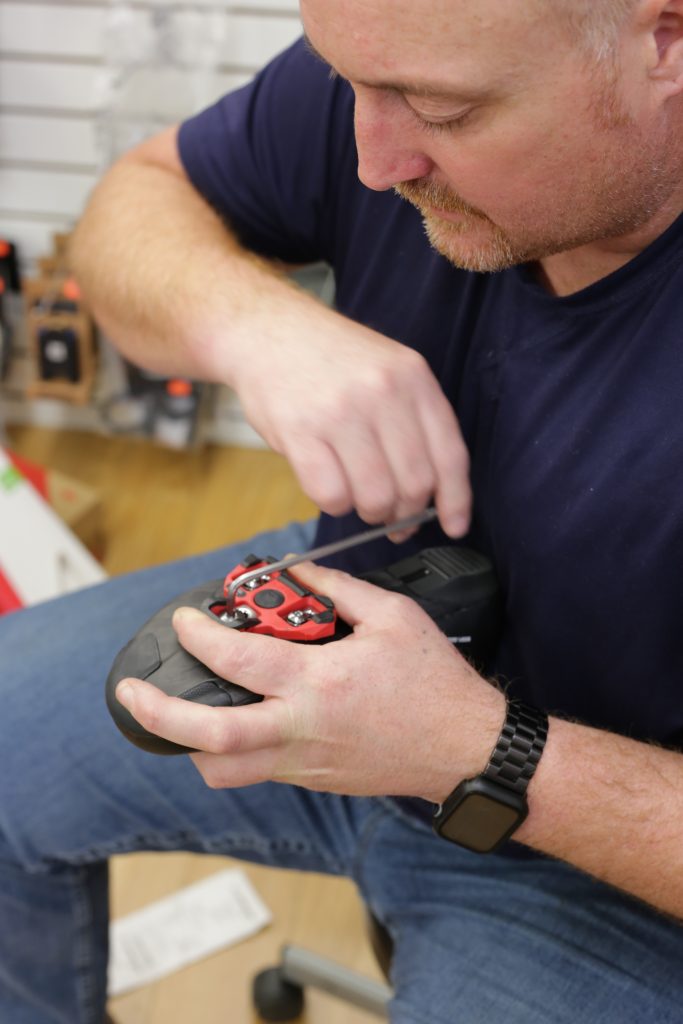
When you go for a bike fit, you bring everything you would normally wear to ride, plus your shoes and other bike parts – in case they are recruited into action. Unfortunately, the old shoes, pedals and cranks didn’t transfer over…too worn out and the power crank arm was too long for the bike frame size. Upgrades number #1 (shoes) and number #2 (power pedals). Fortunately, the handle bars and stem were a perfect size.
With the proper frame size, the handle bar width and stem length was perfect, and only needed slight adjustments to ensure the reach was set properly for shifting and braking. The tilt of the bars and position of the hoods was adjusted slightly to reduce fatigue for longer rides and prevent neck and shoulder pain.
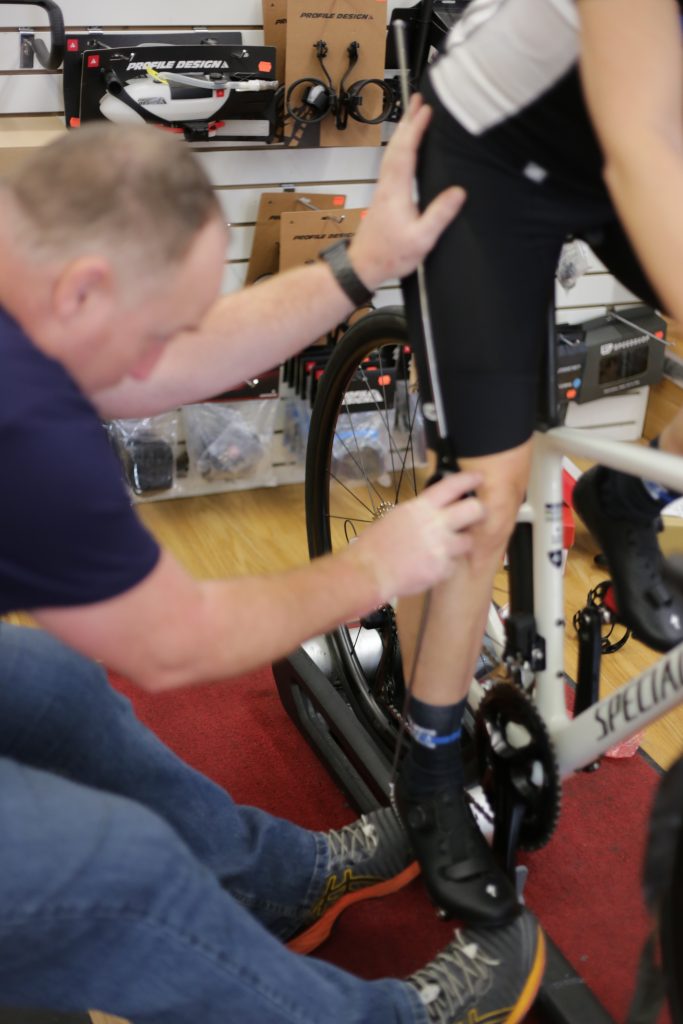
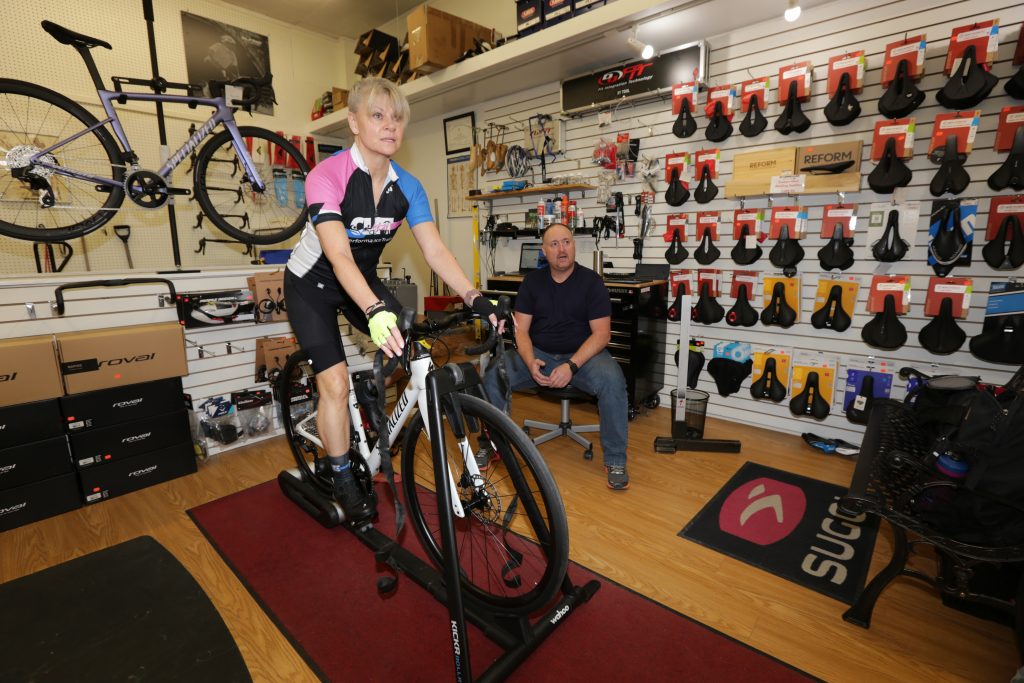
Fine tuning for leg length discrepancies are determined when hip angles are being measured. In my case, the cleat position needed a slight adjustment to even things out. Most people are not perfectly symmetrical to begin with, so it’s not unusual for this type of adjustment to be made. Making this adjustment made me realize my TT bike probably needs a fit update to help alleviate the knee and shoulder pain I’ve been putting up with all winter.
The final part of the fitting is done and I’m sent home with my new ride and instructions for using and caring for all of the upgrades. Charging the shifter batteries is new. A through axel is new – and means this bike won’t be going on my trainer any time soon. I passed on the suggestion of the different style of trainer that could be used – and the bento box that screws on instead of wrapping around the stem. You have to leave something for the next spending spree, after all.